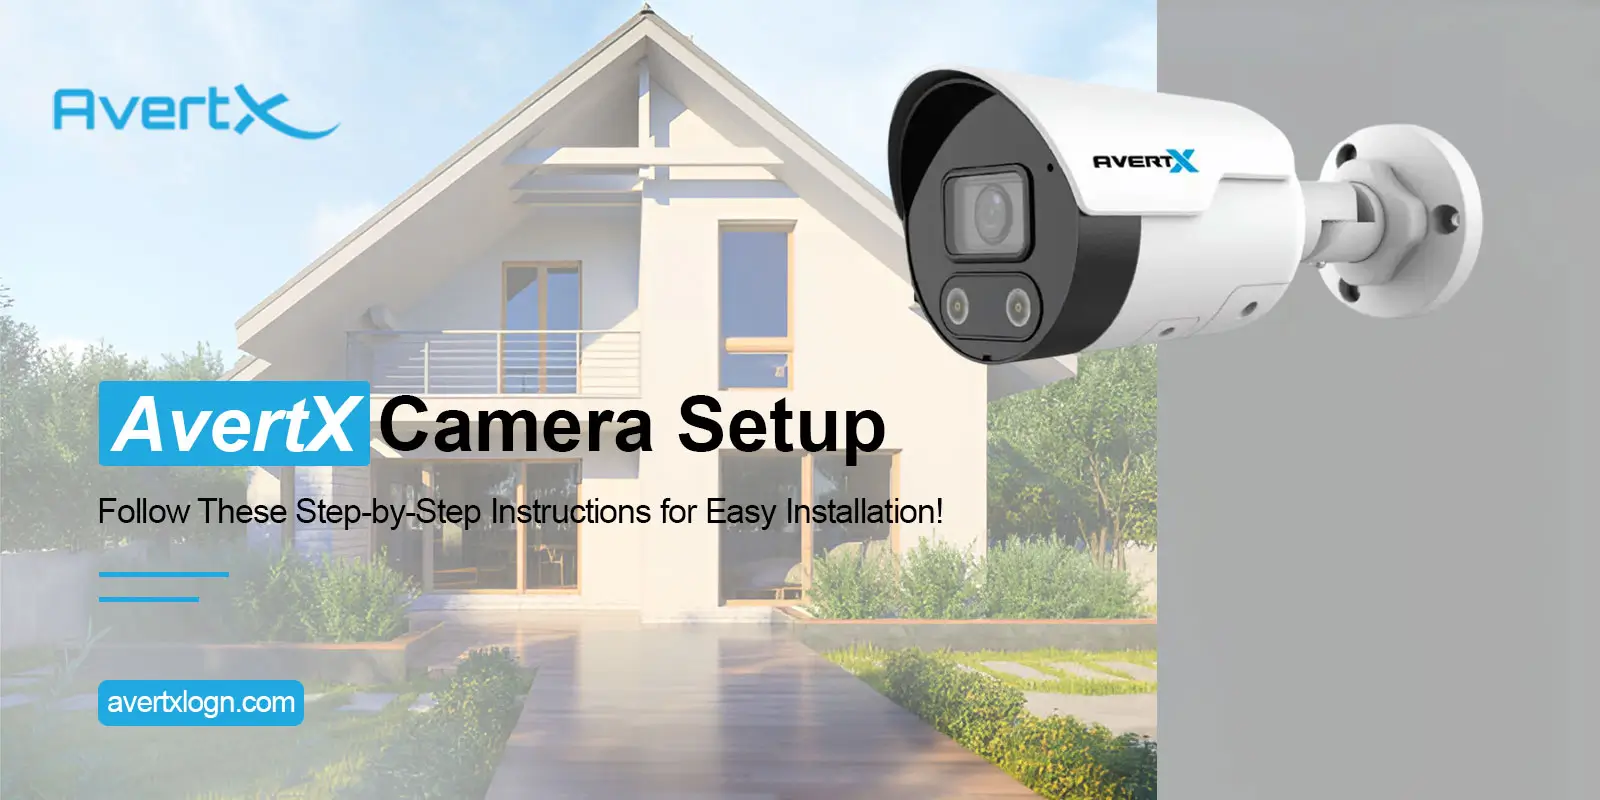
When it comes to ensuring home security, Avertx is among the top names you can rely on. Avertx security cameras are top-class home surveillance solutions, with night-vision, HD image, video capturing capabilities, and whatnot. So, if you have just bought this security gadget, you need to set it up firsthand to make the most out of it. This blog post includes a quick reference guide for the users throughout the Avertx Camera Setup process. This guide not only provides basic information, but also includes advanced configuration details.
Pre-Requirements For the Avertx Camera Setup
Before beginning with the Avertx security camera setup, certain necessary things should be taken into account. So, have a quick look at the essential requirements for setting up the Avertx camera:
- A properly charged Avertx Camera
- Stable Wi-Fi connection
- Accurate administrative details
- AvertX Connect app
- Smartphone/Computer, etc.
Installation of the Avertx Camera
After collecting these key requirements, you must install the camera at a suitable place directly on the wall or ceiling. So, here are the quick installation instructions for the Avertx security device.
- Firstly, unbox your Avertx security camera.
- Check that the box contains the Dome camera, screws, anchors, rubber washers, and quick guide & installation CD.
- Further, take out the camera cover and mark the holes on the wall or ceiling.
- Then, drill the holes with a 3/16” drill bit to connect the base of the camera.
- Now, connect the Ethernet cable to your security camera.
- After that, attach the camera to the wall or ceiling with the given screws and anchors.
- Tighten the screws and adjust the camera angle.
- Finally, your camera is installed and ready for pairing.
Note: In this guide, we have referred to the AvertX HD80 night vision indoor/outdoor IP Dome camera.
How To Setup Avertx Camera Step-by-Step?
Now, after the quick installation of the camera, it is essential to proceed with the correct Avertx Camera Setup process. So, this section highlights the easy-to-follow steps to configure the camera settings using your mobile phone. Stay focused here.
- Firstly, make sure your camera has a sufficient power supply.
- Then, connect your computer to the router’s network.
- Further, open any browser and enter the 192.168.0.250 IP address.
- Now, the viewer software will automatically be installed on your device.
- If it doesn’t get installed, then check the security settings to install the ActiveX control.
- Enable the necessary permissions to install and use the ActiveX control on IE.
- Further, open this software and go to Tools>Internet Options.
- Then, click on ‘Security’ and then ‘Internet’.
- After that, tap ‘Custom Level’ and ‘Enable’ or ‘Prompt’ all the ActiveX controls.
- Similarly, you can add your camera to the trusted sites following the on-screen instructions.
- At last, you have completed the AvertX camera setup.
Pro Tip: If you want to know How To Setup Avertx camera via the AvertX Connect app, then install the app, create an AvertX Connect cloud service account. Then, follow the app instructions.
In conclusion
On the whole, this succinct guide will help users to complete the Avertx Camera Setup without any hassle. Our easy-to-follow guidelines allow you to make the most of these security cameras. Overall, this guide teaches you the quick installation and setup process of the AvertX camera within minutes.